How does someone get really good at something? Practice! Whether in sports or your profession, people who are really good at something practice good habits over and over. Shaft alignment is no different. Learning quality measurement practices and repeating them with each shaft alignment job will increase your effectiveness with your laser alignment tool.
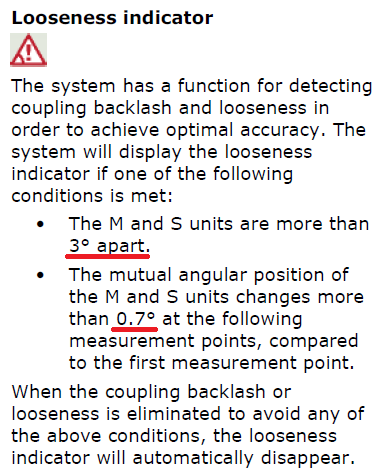
 Mechanical looseness and looseness from coupling backlash will have negative effects on the measurement quality and the amount of time it takes to do a precision shaft alignment. It is often the cause when you seem to be “chasing your tail.”
The Fixturlaser GO Pro and GO Basic come equipped with a looseness indicator. If this function is paid attention to and properly used, the shaft alignment practitioner can perform precision alignments in record time using the GO laser alignment tools.
Quality Measurement Practices Using the Fixturlaser GO Pro Laser Alignment Tools:
When rotating the sensors to 9 o’clock to take the initial measurement, make sure the sensors are relatively at the same angle.

After the first measurement is taken, the GO systems “zero” the movable and stationary sensors.

Rotate the sensors to 12 o’clock. Position the sensors within 0.7 degrees and measure.

Rotate the sensors to 3 o’clock. Position the sensors within 0.7 degrees and measure.

By following this procedure, your measurement results will be more accurate!

The better the measurement practice, the better the measurement results, the faster you will get the job done!


2 Comments
I think it is also important to have a good alignment practice rig. It really helps aligners learn proper technique that they can take to the field. Don’t just take an old motor pump skid and call it good. It is probably not in service for a good reason. Have something that with proper technique will yield good results.
[…] are several things that must come into play to achieve a quick and accurate shaft alignment. One of those things is […]